How To Make Tape Extensions Look More Natural
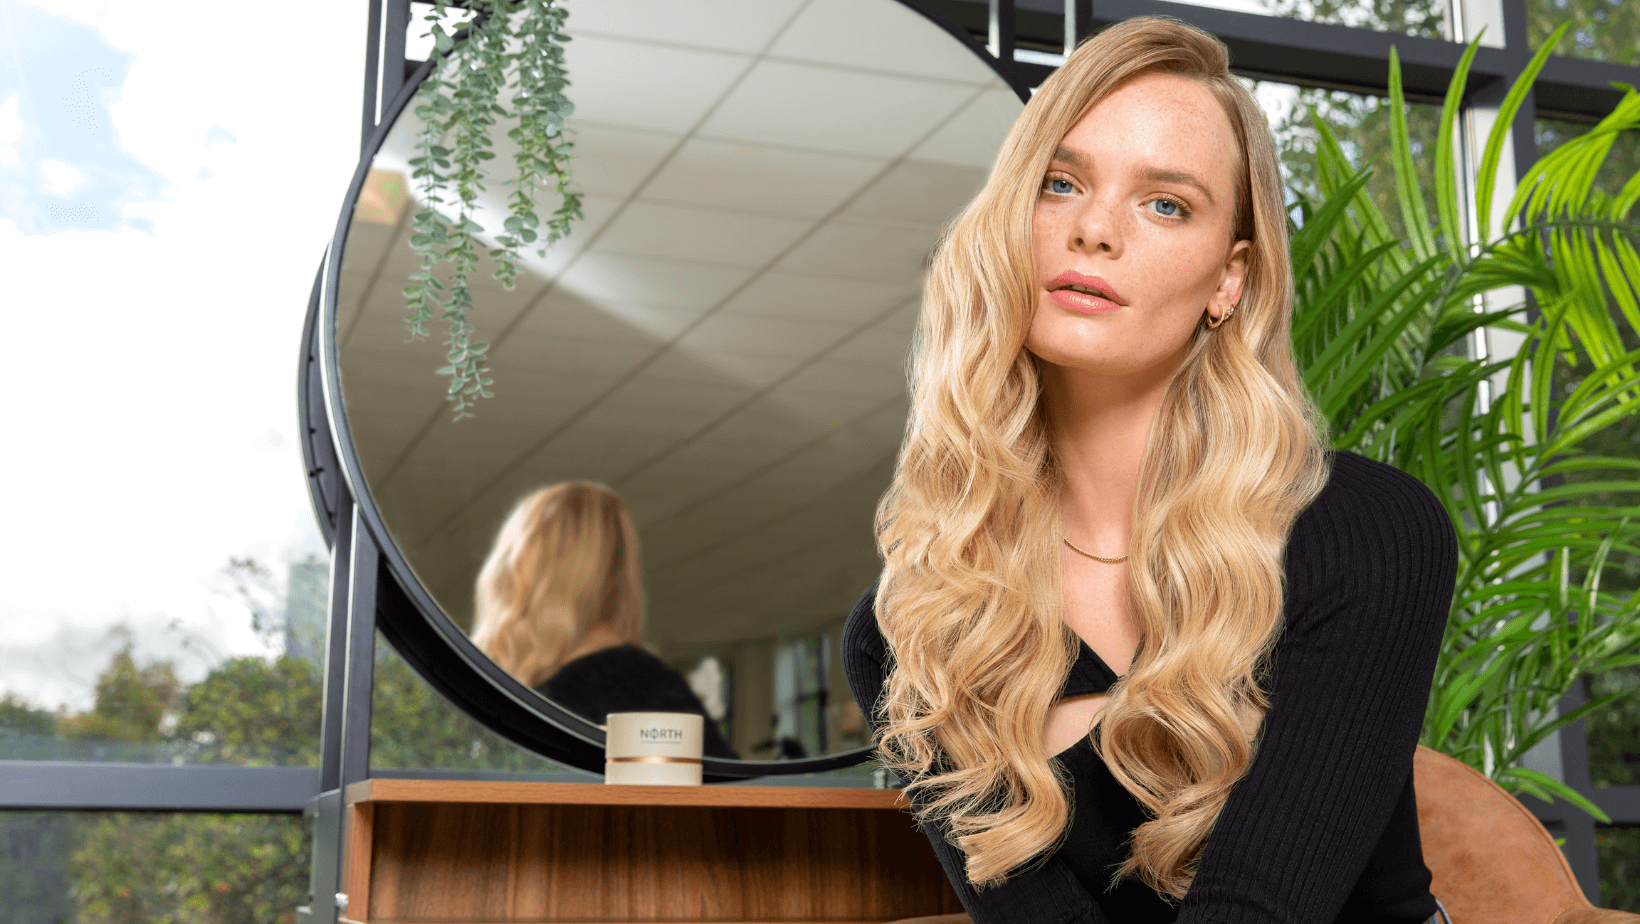
Long gone are the days when we don’t care if our extensions are absolutely obvious to everyone walking by. Your clients are coming to you, a tape extension specialist, because they want to naturally enhance their hair for volume, length, thickness and dimension.
How you install your tape extensions will make you stand out, and you want it to be for all the right reasons. You want to give your clients dramatic transformations that have prospective ones banging down your door. And the best tape transformations? They’re the ones that look like you’ve worked literal magic on your client’s natural locks.
At North Professional Hair, we’re your trusted tape extension brand because we’re invested in our customers. From the moment you sign up for a North account, we’re here to support your growth, your work and your clients. And part of the way we support you is by producing educational articles, just like this one!
In this article, you will learn about all the different steps you need to take to perfect the most natural tape extension installation, including; volume, length, colour, cut and style. By the end, you will have the knowledge and toolkit to make every installation you do ultra-realistic and indistinguishable from your client’s natural hair.
Install the right amount of extensions
To ensure the tape extensions blend naturally into your client’s natural hair, you need to make sure you are installing enough tapes to match or enhance your client’s natural thickness.
Not enough tape extensions will create gaps and an overall look of unevenness in your client’s hair, which will be especially noticeable if your client is wanting tapes to also lengthen their natural hair.
However, installing too many tape extensions into your client’s hair may make the installation look bulky and obvious. The tape tabs may also be noticeable if too many extensions are installed, as your client’s natural hair may not be able to cover them.
Installing enough extensions means that the overall result looks even and that the tape extensions look indistinguishable from the client’s natural hair.
Install the right length of extensions
Another thing that you need to consider when trying to make tape extensions look natural in your client’s natural hair is ensuring that you are installing the right length. Tape extensions from North Professional Hair come in two lengths - 16 and 20 inches.
If you install tape extensions that are too short for your client’s hair, there will either be a clear line where the extensions do not meet, or you will have to cut the client’s hair shorter to blend (which they may not want).
On the other hand, installing tape extensions that are considerably longer than your client’s natural hair may also create a clear line where the extensions do not meet. Here, you would either need to work on balancing adding length with thickness, or cut the extensions shorter to blend with the natural hair’s length.
Installing the right length of extensions means that both the tape hair and your client’s natural hair will blend together at the ends, whilst also looking even and indistinguishable. Cutting layers into the hair can often help with this.
Find a perfect colour match
Finding the perfect colour match is what will be the make or break in ensuring your client’s tape extensions blend naturally into their natural hair.
If the colour match isn’t right, which could be that the colour is too light, too dark, the wrong tone or the wrong shade, they will look incredibly obvious against your client’s natural hair.
Remember that you can blend different shades of tape extensions into your client’s natural hair, for highlights, lowlights or a balayage effect. However, this needs to be done with a careful balance and, generally, the inclusion of tape extensions that match your client’s hair colour.
The perfect colour match will blend seamlessly into your client’s hair, either by matching the colour or by adding a soft, natural dimension.
Read this article ‘How to Colour Match Your Client’ for more information!
Cut and blend the extensions into the natural hair
Installing the perfect amount, length and colour match of tape extension still doesn’t always amount to a natural-looking result. After installing tape extensions, you will always need to cut and blend them into your client’s natural hair.
Leaving your installation as is not only unprofessional, but will leave your client’s hair looking uneven, messy and obvious. Your tape extension installation will never result in even and balanced ends, and some clients will have layers or framing cut into their natural hair.
Cutting and blending the tape extensions into your client’s hair will create a seamless union between the tapes and your client’s natural hair, making them invisible and indistinguishable.
Read this article ‘Cutting & Blending Extensions’ for more information!
Styling the extensions
Styling the extensions is going to be the final step in making them look natural and indistinguishable from your client’s own hair. However, your client should also know how to style and upkeep them.
If your client has naturally frizzy or curly hair, they will need to learn how to straighten it into their tapes - and if they cannot commit to that, they will need to book weekly blowdries for the salon to do it for them.
For the tape extensions to look natural in your client’s hair, you need to ensure that both you and your client can upkeep their natural hair, making sure it is the same texture as the extensions. Straight extensions = straight natural hair!
Top tips for making your extensions look more natural:
Here’s an overview of the top tips from each point above:
- Install the right amount of extensions to match or enhance your client’s natural thickness
- Install the right length of extensions without having to cut off a considerable amount your client’s natural hair or the tape hair
- Find the right colour match for your client, that matches or adds dimension to the colour of their natural hair
- Cut and blend the tape extensions into your client’s natural hair layers and face-framing
- Your client’s natural hair needs to be styled the same way as the extensions
Time to make it natural!
You came to this article looking to learn how to make your tape extension installations look more natural, in your clients’ hair.
However, since reading, you have learnt about the importance of choosing the right amount, length and colour match for tape extensions, along with why it is so important to cut, blend and style the tapes into your client’s hair.
But what now?
At North, when you grow, we grow with you! As an organically grown brand, we know how important it is to get it right and get your name out there. That’s why we’re so dedicated to supporting our customers to become the best that they can be, in the tape industry.
Two ways we do this are through our North training days and the educational articles over on the North Blog!
Learn more with North
Did you know that we offer training days, covering everything you need to know about tape extensions, with industry-leading experts? Whether you’ve been taping for years or are brand new to the method, North training days have something to teach everyone!
Book onto our next available training day, here!
Read more with North
Our North Blog is full of information about tape extensions, covering everything from common problems to colour transformations!
If you found this article helpful, here are some similar ones covering topics we’ve discussed in this one: